Browsing Category

Photo Tips & Tricks

Mains of Gask
Photo Tips & Tricks

The Art of the Jump Shot

The jump shot. Ever since I took my first jump shot a few months ago, I’ve become a bit obsessed. They are, without a doubt, the shot I want to get in most situations, especially when I’m travelling. There is something about how these shots convey a sense of joy and being alive. And they’re just fun.

My dad recently commented that he was impressed with how high I’d jumped in one of my shots.  Tricks of the trade I told him.  My vertical leap is not that impressive.  And the more of these shots I take, the more I learn.  So because these are so fun, and I think everyone should be out there taking jump shots, I thought I’d share some of the tools in my little bag of tricks.
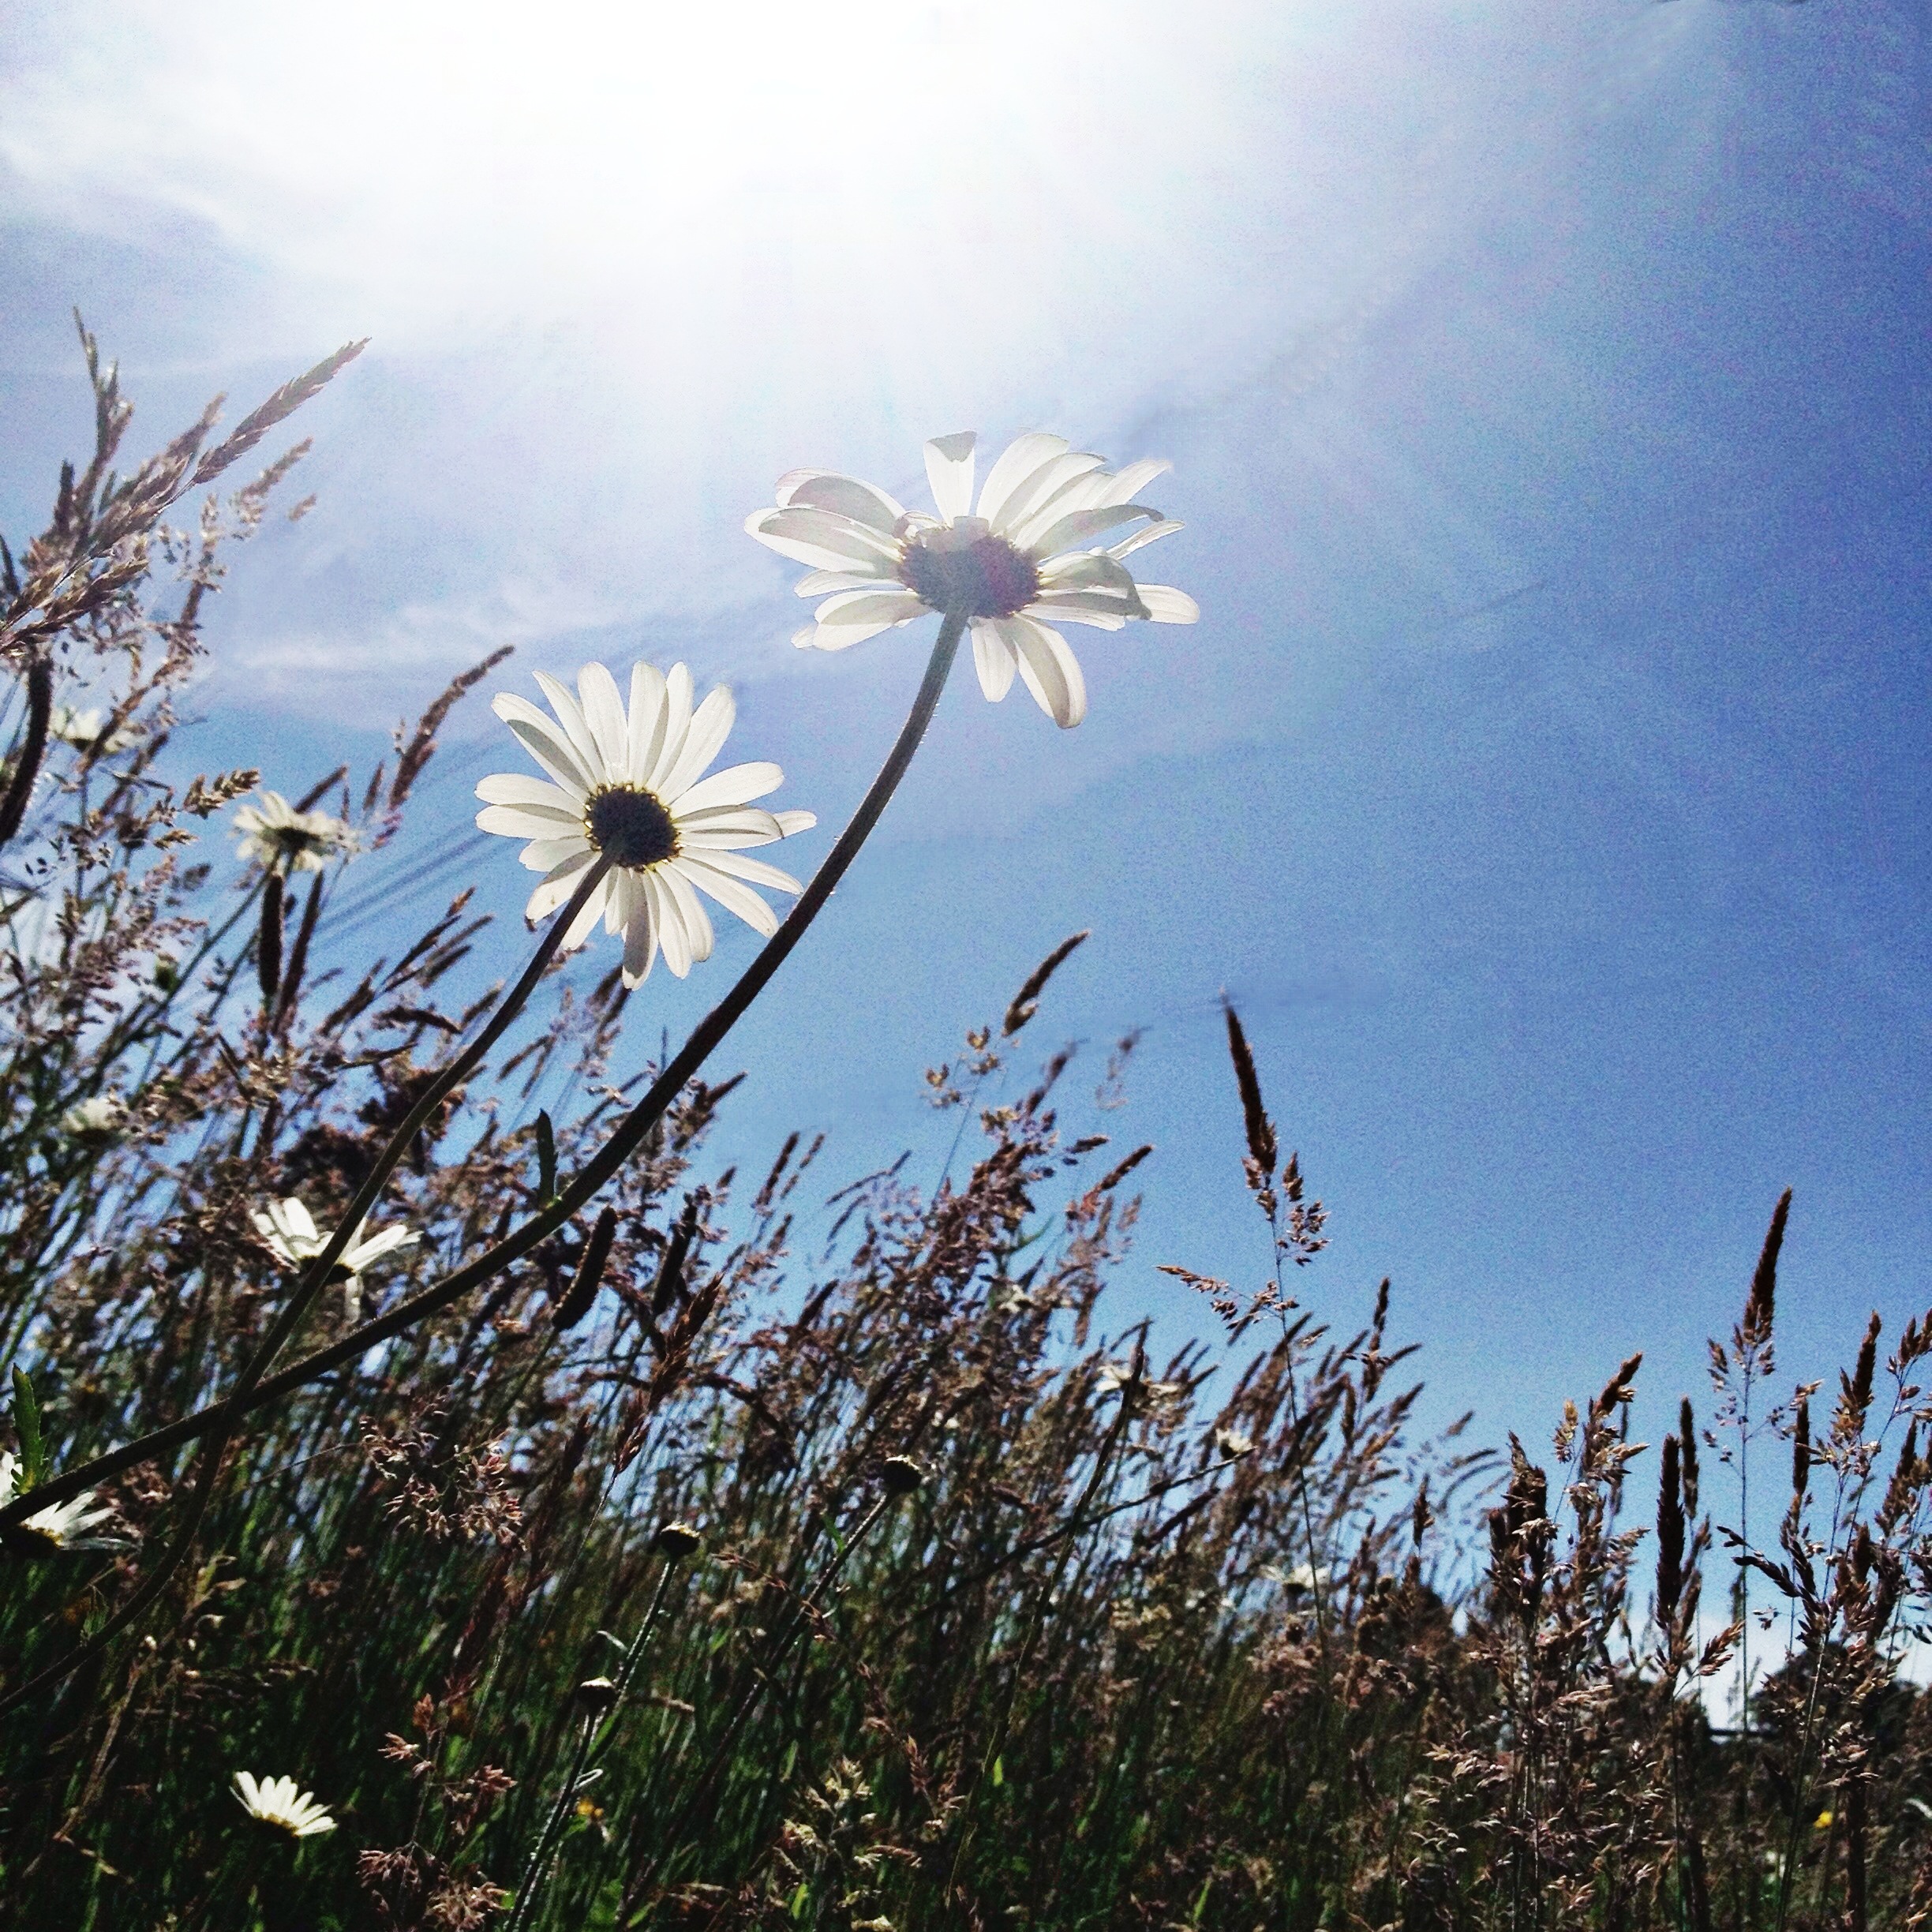
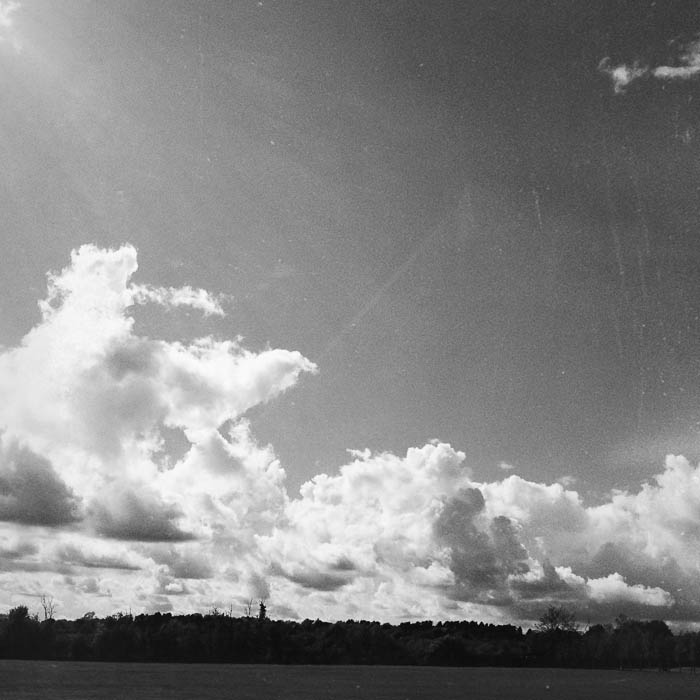
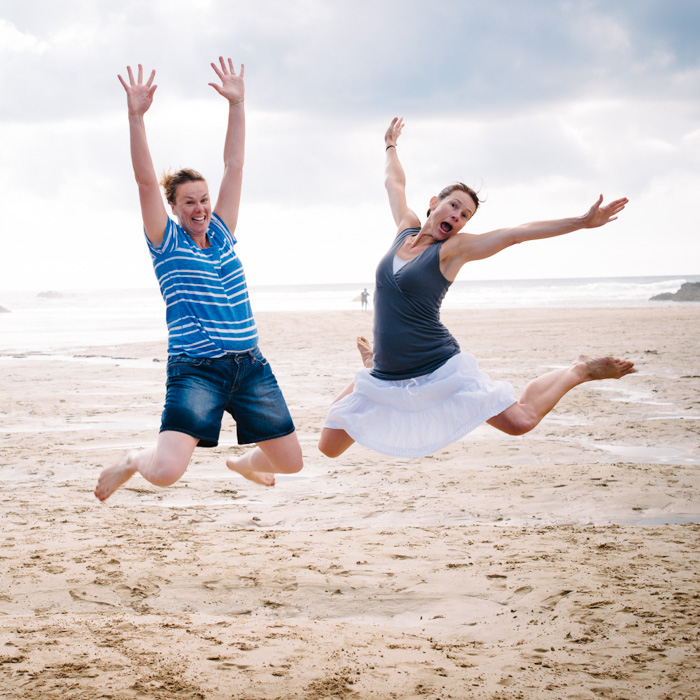
Negative Space

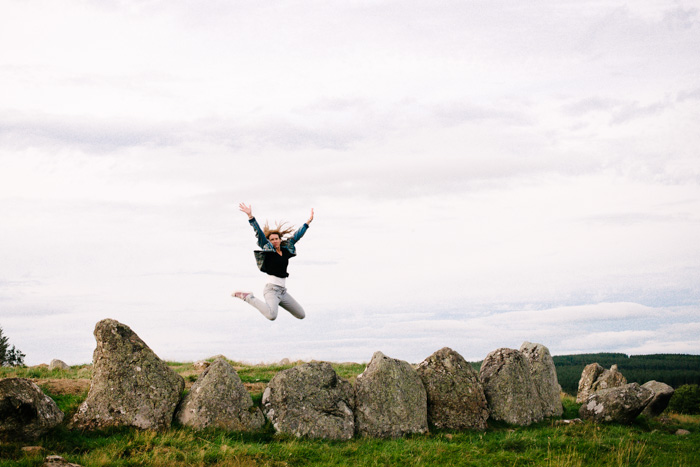
Framing your shot so there is empty space behind you helps your jump stand out instead of blending into the background.  The sky is ideal.  Keeping the horizon in the lower third of the frame also creates lots of negative space for you or your subjects to jump in.
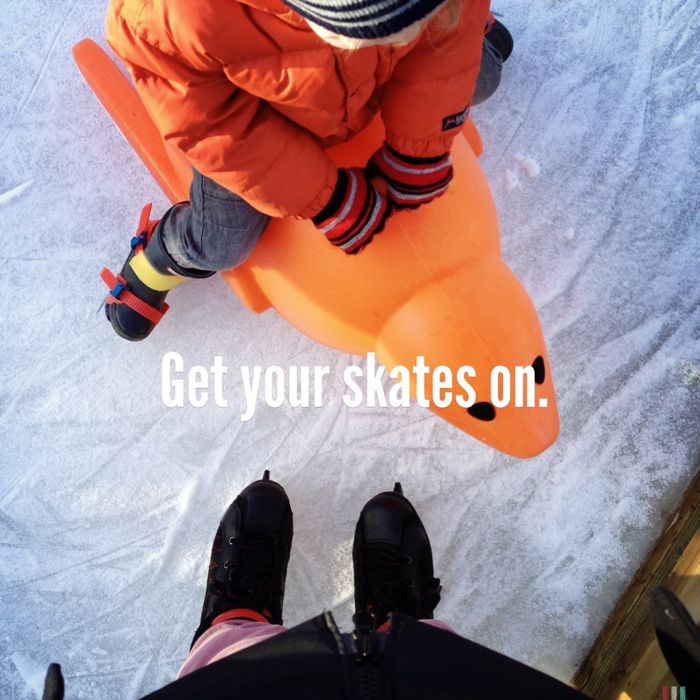
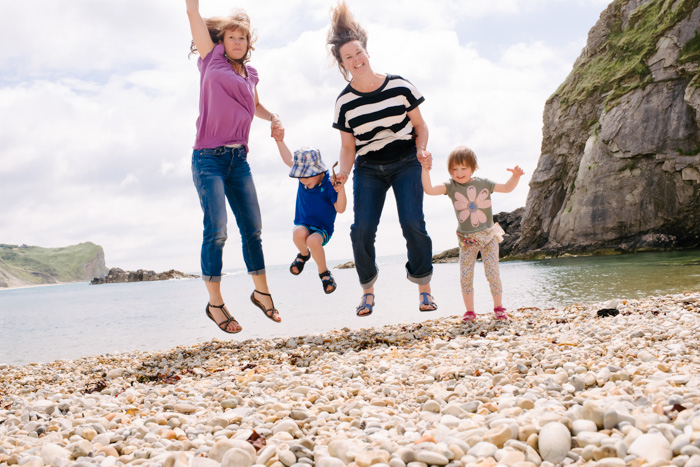
Cornwall Jump

Timing

If you’re doing self-portraits, get comfortable with the rhythm of your self-timer or use a remote.  I prefer the self-timer as it leaves my hands free and I don’t worry about hiding it in one hand.  Getting this timing right does take practice and I have plenty of funny (embarrassing) outtakes of me mid jump.   In order to build momentum, try to start jumping before the timer goes off and then do your biggest leap as the shutter goes click.  It’s also important to use a faster shutter speed on your camera to freeze motion.  If you have multiple people in your shot, timing gets even more complicated.  But be patient and keep trying because there will always be one that works.  And one that always makes you smile.
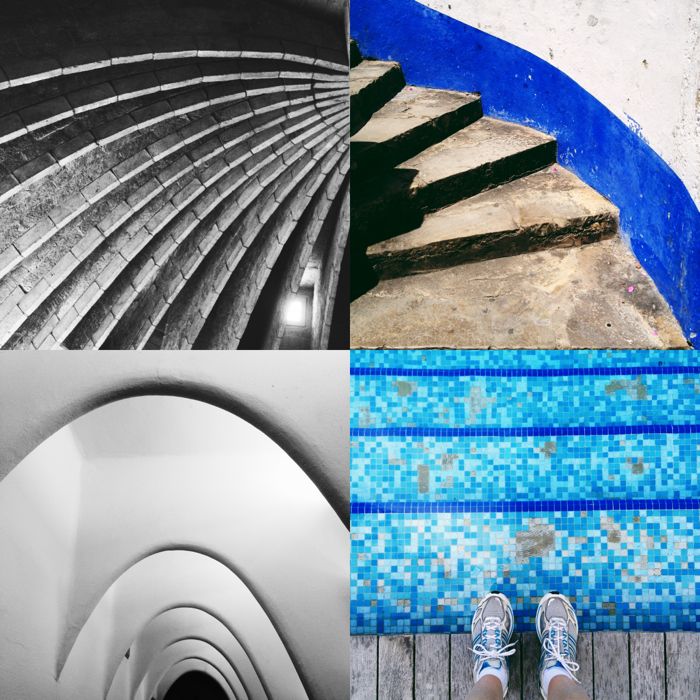
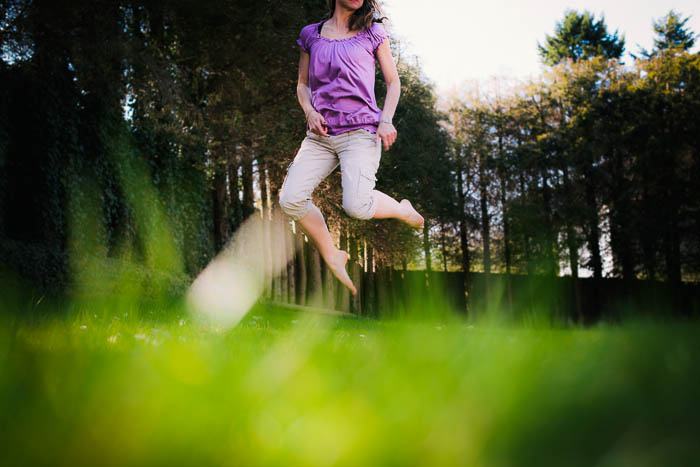
Cornwall Jump

Camera Down Low

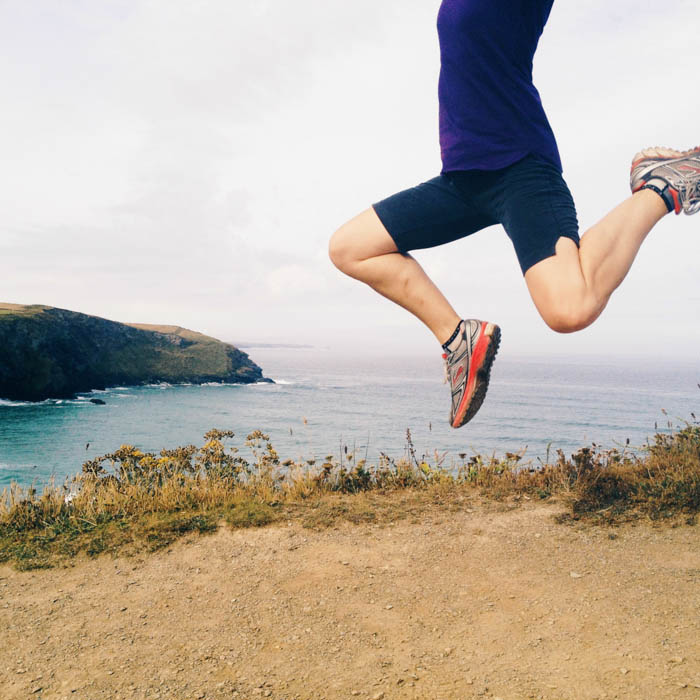
The lower your camera is to the ground, the higher it appears you have jumped as it exaggerates the distance between you and the ground.  Sometimes I use a tripod at its lowest height or I’ve been known to just sit the camera directly on the ground.  If you can find a spot with a slight downhill and put the camera at the bottom of the hill and you at the top, this works great.  And getting the camera low to the ground also helps with that idea of negative space I mentioned earlier.
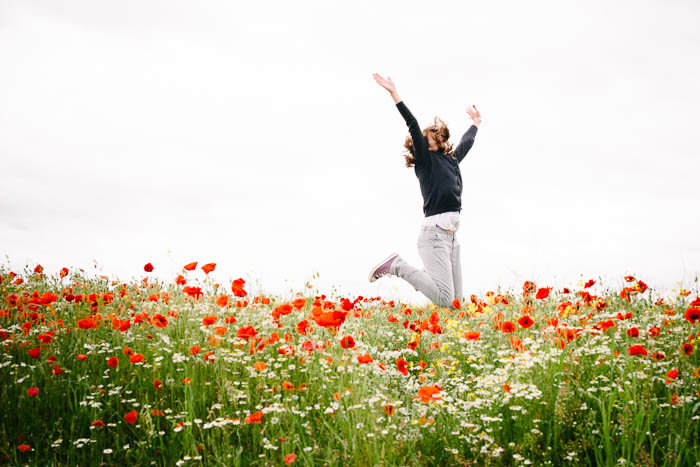
Oxfordshire Portrait Photographer

Check Your Wardrobe

Trust me, you do not want shots of you with exposed midriff and knickers.  Been there, done that. Preventing a wardrobe malfunction just means taking a few moments to make sure everything is tucked in and secure.  And skirts fly up much higher than you think they will.

201306_dorset_201-Edit

Body Position

Bent knees and outstretched arms make all the difference.  Nothing says “Happy” and  “Joyful” like arms reaching up toward the sky.  It also creates the illusion of height as you’re reaching and moving up. Bent knees add to the illusion of height.  You might only jump two inches off the ground, but if you get those heels up and touching your bum, it looks like you’ve jumped two feet. Creating that separation between your torso and limbs also adds interest and movement to the shot.
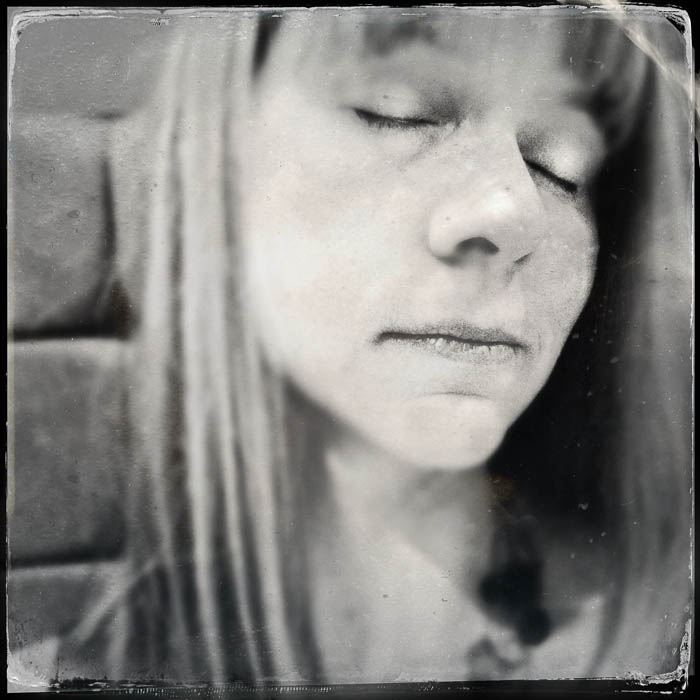
Oxfordshire Lifestyle Photographer

Facial Expression

I struggle with this, but try to remember to smile.  I’m usually putting so much energy and thought into everything else that I end up with weird pained expressions on my face.  Smile!  Laugh!  That’s what this is all about.

So now you’ve got a bag full of tricks.  Get out there and jump!  And if you do, I’d love to see them so jump and share!

iPhone Photography Apps
iPhoneography, Photo Tips & Tricks

What’s In My iPhone Camera Bag: An Update

About a year and a half ago I wrote about the apps I use when shooting with my iPhone and looking back, I realize that it’s time for an update.  Apps have changed.  My style has changed.

And honestly as I’d been shooting a lot with the D800 since Christmas, I’d not been a prolific iPhone shooter lately.  But on my recent holiday to Spain and Portugal, I found myself falling in love with the iPhone again.  So I thought it worth an update on what I’m using these days.

It’s a lot less.

Shooting

I use a “camera replacement” app to shoot all my images.  The built-in camera on the iPhone just doesn’t have enough bells and whistles for my needs.  Most importantly, I’ve found that having more granular control over focus and exposure and being able to separate the two make for better iPhone photos.  The built-in camera doesn’t yet offer this.

However, there are a number of apps that have this functionality.  My favorites are ProCamera and Camera+.  Both have separate focus and exposure controls and self-timers, tools I use regularly.  Right now, I’m shooting mostly with ProCamera because it also offers a square shooting mode.

I still use Hipstamatic on occasion but it’s become more of a special purpose camera and not every day shooting.

Barcelona

General Editing

There are hundreds of apps out there that enable you to get super creative with your iPhone images, some even turning them into works of art no longer recognisable as photos.  And while I have a number of these apps, I tend not to use them on a regular basis.  I tinker with them but in the end I ask myself,  “In twenty years when I look at this photo will I think I was on drugs?”  If the answer is yes, I abandon the creation.

Instead, I rely on just a handful of apps to process my images, ones that allow me to enhance the photos with clean, classic editing.

PicTapGo – I love this app.  It’s got a super easy workflow and robust set of filters that you can layer on your image.  It’s made by Totally Rad, the same folks that make the really good Photoshop actions and Lightroom presets.  And the great thing about this app is that you can save “recipes” for specific filter combinations to not only speed your workflow but also create consistency.

VSCO Cam – VSCO, the makers of the fantastic Lightroom presets, just released a new version of this app (it’s actually a whole new app) a few weeks ago.  In fact, I edited all of my holiday photos from Spain & Portugal using the earlier version of this app.  Their filters are meant to emulate various types of film and are generally clean, classic looks.  I really like some of the new filters they’ve created specifically for portraits.  The only reason I don’t use this app more than PicTapGo is that the workflow is clunkier and more time-consuming.

Photogene – I don’t do I ton of editing with Photogene but I still find it useful for “Photoshop-like” adjustments. Things like rotating, straightening, cloning, dodging or burning specific areas of a photo, etc.

Special Purpose Editing

Touch/Retouch – This is hands down the best and easiest app I’ve used for removing unwanted stuff from a photo.  That scaffolding around La Sagrada Familia that makes your photo rubbish?  Just erase it with a few swipes of your finger.

La Sagrada Familia Barcelona

FaceTune – This is the only new app on my list and one that I’m still experimenting with.  It’s purpose-built for editing portraits with tools for editing skin tone, blurring backgrounds, and highlighting the eyes.  So far I’ve really liked the results.

PicFrame – Still my favorite app for combining multiple photos into a collage.

Over – Want to make a statement or share an inspiring message with your photo?  Over is a great little app for adding text over your photos with lots of fonts and styles.

Made with Over

Sharing

Instagram – So yes, I’m back on Instagram.  I left Instagram at the end of last year over the hullabaloo regarding their terms of service but I’m back.  I found that I missed the community and the creative outlet.  And, I’m a much more prolific iPhone shooter with Instagram than without.  While I was still sharing iPhone shots on Flickr, it never really felt right and it felt like more work.  I felt like with Flickr I needed to curate myself more and was much less likely to share more candid shots.  But with IG I feel free to share more of these and it’s been really good to be welcomed back into the community.  You can find me @katherinelightner.

Flickr – I don’t share photos directly with the Flickr app, doing that instead through Instagram and cross posting to Flickr.  The main thing I use this app for is catching up with the groups in which I participate.  From here I can comment on other people’s photos, join in group conversations, or even organize my own photos on Flickr.

So there’s my latest list of iPhone photo apps narrowed down to those I actually use and that do more than just take up space on my iPhone.

What about you?  What are your go to photo apps?  Some of the same or different?


Everyday Adventures, Photo Tips & Tricks

My 30 Day Video Challenge

One of the things I’ve committed to myself to do this year, in addition to all the pictures (phew!), is to shoot more video and, here’s the important part, DO SOMETHING WITH IT.  I’ve actually been collecting little snippets of video for some time but they’ve just been sitting around taking up space on my computer and never seeing the light of day.

I know I take a lot of photos, and surely that should be enough to document our lives, right?  But, technology has made it so easy to capture video these days, it just really seems like I’ll regret it if I don’t. Because a still photo won’t capture the funny little way he runs, or dances, or plays Spiderman.  And with close family living thousands of miles away who can’t see him grow up on a daily basis, I feel like it’s the least I can do to put these little memories together for them.  One day it will be nice to have these little home movies to look back on.

So for the month of February, I challenged myself to shoot some video each day, then compiled the clips in chronological order with just 3 seconds from each day.  Thanks go to Xanthe Berkeley for teaching me how to do this.

I’m certainly no Steven Spielberg.  Heck, I’m not even the intern that fetches his coffee.  But here you go, some random happenings from the past month.

Random Happenings from Katherine Lightner on Vimeo.

A Few Lessons Learned

1.  Read My Camera Manual.  I shot all this video with the Nikon D800 that came for Christmas.  When I got the camera, I did go to through the manual.  However, I was pretty focused on shooting stills so completely glossed over the section on shooting video.  So this whole process was trial and error, figuring things out as I went along.  I’m certain my learning curve for the next video will be much less steep if I go back and read up on how to use the camera.

2.  Pick the Music Early.  Purely by chance, I chose the music I wanted to use pretty early in the process and I found this helped immensely.  It helped me understand what type of footage would work better in terms of pace and movement.  And, having a song continuously playing in my head helped me visualize the video.

3.  Manual Focus is Your Friend.  Shooting stills, I rely almost exclusively on auto-focus.  But I found early on that this didn’t work reliably for me when shooting video.  (Refer to lesson 1, go back and read the manual.) So I switched to using manual focus and found that this improved the quality quite a bit.  It also allowed me to create some of the shots that fade in and out of focus.

4.  Pay Attention to Lighting.  This should be a no brainer as I always do this when shooting stills.  But I found with trying to shoot video everyday, many days inside, I was shooting in a combination of natural and incandescent and not making adjustments to my white balance to account for this, probably because I didn’t know how to.  So again, refer to lesson one, and maybe just try shooting everything in natural light.

5.  Just Shoot.  In my head, I’d put up this huge roadblock that putting something like this together was WAY to difficult and time-consuming.  And I won’t lie, it is more time-consuming that editing stills.  But, it was nowhere near as difficult as I’d imagined it and in the end, I think it was really worth the effort.

Finally, note to self, I know you work from home and don’t see the same people every day, but you do have more than one pair of trousers in your closet.  Why not try wearing a few different ones every now and then?

52 Weeks of Us, Photo Tips & Tricks

52 of Me: Five

This year I started two 52 week photography projects, one with more intentional photographs and portraits of my little man and one a series of self-portraits.  But I’ve realized this week that if I just take pictures of him and pictures of me, our story is incomplete.  There need to be pictures of US.

As the one behind the lens, I know it takes a little effort to get in front of the camera in and the frame. It’s easy to be self-conscious about how we look.  It’s easy to make excuses about how we don’t have the right tools or know how to work the camera.  It’s easy to just put it off and forget about it.  It’s easy to say we don’t have time.

But just as your kids grow and change so quickly, so do you.  And it’s just as important to capture your story and the story of the connection you have with your children.  Tracey Clark gets it spot on in Elevate the Everyday when she writes:

Every photo of you with your children will be a precious and priceless gift for them in the future.  …There is no more valuable photograph in any collection than a mother with her child. Not a single one.

So it’s actually not that hard to get in the picture.  Here are some suggestions to get you started.

Don’t have a fancy camera?  Not a problem.

If you’ve got an iPhone it’s a simple as using the forward facing camera.  I’m not a fan of the forward facing camera’s low resolution so will turn the phone around and use the main camera with the technique I mentioned in this post.  If you want to give yourself a little more flexibility, you can also install one of the camera apps such Camera+ or ProCamera.  Both have a self-timer feature which is super easy to use.  All you need is a steady surface on which to rest the phone.

Learn to Use Your Camera’s Self-Timer

If you do have a fancier camera like a DSLR (or even a point and shoot), they will have a self-timer.  Dig out your camera manual and learn how to use it.  This is not hard.  It will probably take you more time to find the manual than to actually figure out how to use timer.  Some cameras have a fixed time delay, others will let you adjust the delay but they all work on the same principle.

  1. Rest your camera on a steady surface.  Could be a tripod, could be the floor, a stack of books, a shelf, whatever.  For this shot, my camera was simply sitting on top of the TV cabinet in the living room.
  2. Frame your shot and focus.  On my camera, after I’ve focused I will set my camera to manual focus so that it doesn’t try to re-focus the shot when I push the shutter.  Depending on your camera and how you’ve composed your shot, you may not need to do this.
  3. Press the shutter to take the picture.
  4. Run out from behind the camera, get in the shot you’ve composed, and then watch the blinking light until it snaps the picture.

And viola!  Just like that you’ve started capturing memories that tell the story of you.  And if you’re not going to tell it and document it for future generations, who will?

So this is my story this week.  The everyday me with the baggy sweater, the jeans with holes, no makeup, glasses on top of my head.  Spending a day at home playing silly games with my sick child.

What’s your story this week?  Why not capture it in pictures?

iPhoneography, Photo Tips & Tricks

My Favorite Hipstamatic Combos

One of the first iPhone photography apps that I ever downloaded and started using was Hipstamatic. I think it’s so popular and listed on so many review sites that most people new to iPhoneography will give this one a try.  I certainly did.  And it can produce some really interesting and gorgeous results.  The problem I had with Hipstamatic in the early days was the dizzying array of lens and film combinations and a total lack of understanding about what combinations might produce what results.  It scared me so I ran away.

But I’ve been experimenting a lot with Hipstamatic over the past year and narrowing down my likes and dislikes.  My iPhone photography has also gradually evolved into a much simpler style.  I went through a phase of experimenting with every photo editing app under the sun but in the end most of them really aren’t my style.  I just want simple, honest images that have a bit of polish and shine but that don’t require me to spend much time, if any, editing.  Sometimes I want to shoot in color, sometimes black and white.

So, Hipstamatic has now become my go to app for almost all my photography on the iPhone.  I rarely shoot with anything else and I rarely edit photos after the fact.  Plus, I’ve really fallen in love with shooting in little squares.

What Are My “Go To” Lens / Film Combinations?

Black and White:

01.  Melodie Lens + Rock BW11 Film.  This is a high contrast black and white combination and the film isn’t too grainy.  It also has a very small simple border which is easily cropped out.  I’m not a fan of borders.  If I want to shoot black and white, this is what I use almost always.

London Like Vanilla Sky

02.  Loftus Lens + Claunch72 Monochrome Film.  This produces soft sepia toned shots and I tend to use this for monochrome macro images created with the Olloclip.  Also, another border that’s easily cropped out.

Dandelion

03.  Tinto 1848 Lens + D-Type Plate Film.  This is the newest lens and film that Hipstamatic released and it creates some interesting shots with its use of facial recognition.  It’s not for every situation and if you’re not careful you can end up with what I describe as “creepy alien eyes” but I have made some really dreamy portraits with this combo.  To learn more about this new combo, read this great article over on one of my favorite sites, Mortal Muses.

Tinto

Color:

01.  Jane Lens + Blanko Freedom 13 Film.  This combo has the really warm tones that I love and it tends to brighten everything up a bit.  If I’m shooting color for everyday situations, this is it.  Even though this film doesn’t have a border, it does have a crazy little graphic that it puts in the bottom right corner which I usually just clone out with the TouchReTouch app.
Sunset

02.  Loftus Lens + Blanko Freedom 13 Film.  This is the combo I use for most of my color macro shots with the Olloclip.  The film is bright and simple and the Loftus lens just blurs out the edges to make them soft and dreamy.

Purple Shade

A Note About Self-Portraits on Hipstamatic

If you’ve followed recently, you’ll know that I’ve started a 52 week self-portrait project this year.  Some of these shots will inevitably come from my iPhone.  But as Hipstamatic doesn’t support using the forward facing camera, how will it work in this context?  Honestly, I rarely use the forward facing camera.  Yes, it’s nice to see what you’re shooting.  But the resolution on shots from the forward facing camera is so much worse that I never like the images it produces.  So what I’ve learned to do instead is turn the main camera toward me and just judge whether I’m in shot.  This takes practice as you can’t see what you’re shooting but once you get the hang of where the camera is pointing, it’s easy.  And, Hipstamatic makes this super easy because you can make the whole screen the shutter release (there are other apps like ProCamera that do this as well).  Just double-tap on the view finder and it enlarges to fill the screen.  Then turn the camera around, position the lens in front of your face, and tap anywhere on the screen.  Viola.  Don’t be afraid to turn the camera on yourself.

Snowy Day

Are you a Hipstamatic user?  If not, give it a try.  If yes, what are your favorite combos?